 |
||
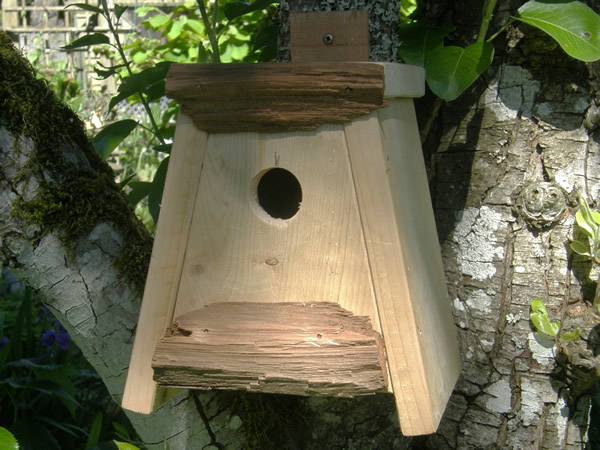
A 6 inch board was used to make this nest box and a few 1 1/2 " nails and four 1 1/2" screws. The tools needed are an electric saw and a drill. Two drill bits were used, one 1 1/8" and one an 1/8", also a hammer and a screw driver. |
 |
||
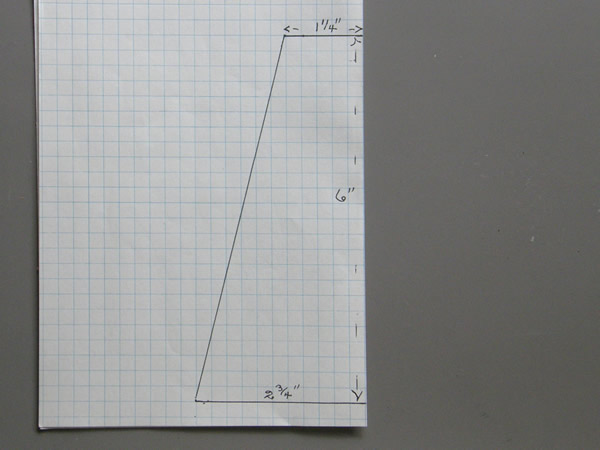
We made a pattern using a sheet of graph paper. Folding the sheet in half we drew the shape as shown here. |
||
 |
||
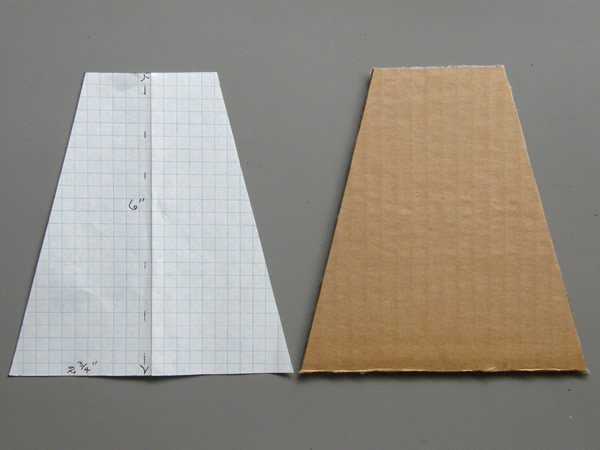
Cut out the shape and unfold the paper. This also allows you to work out the sizes of the other pieces of wood needed. A cardboard pattern can be cut from the paper if desired. |
||
 |
||
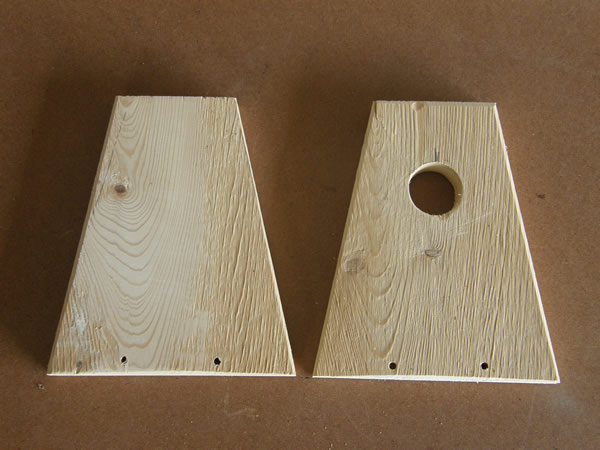
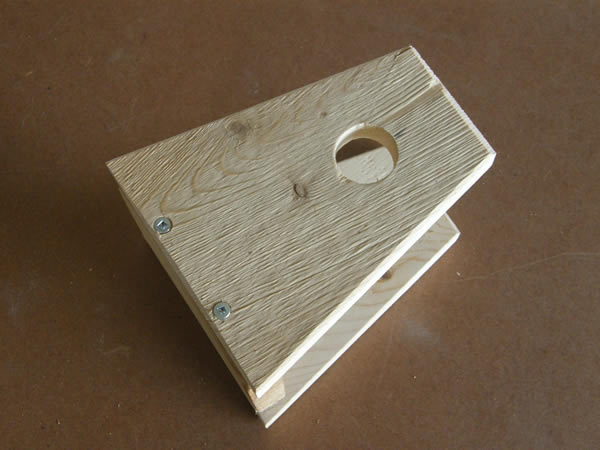
Use the pattern to draw 2 of the shapes onto the board for the back and the front pieces. |
||
 |
||
Cut them out and drill a 1 1/8 hole in the one to be used for the front, 2 inches down and in the centre. Two 1/8" holes can be drilled 3/8" from the bottom and 1 1/2" in from each side in both pieces. |
||
 |
||
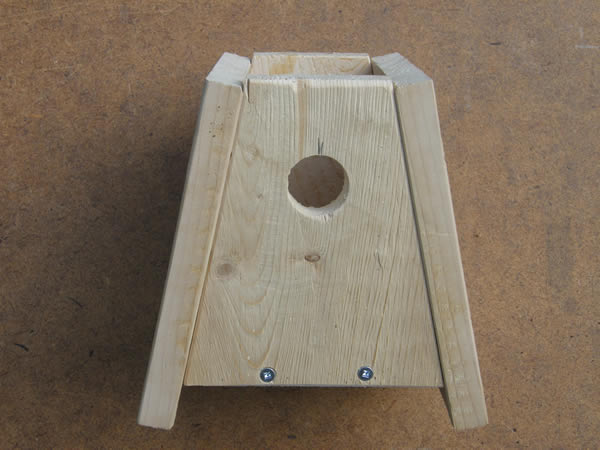
The bottom of the nest box is 5 3/8" x 4". The bottom is cut short so that it does not interfere with the roof sections. It is attached to the front and back with 1 1/2" screws for removal for cleaning. |
||
 |
||
| Cut the two sides from the board, 7 inches long. These can be attached with 1 1/2 " nails to the outside of the front and back. These sections should also be a little lower than the front and back pieces so they will not interfere with the ridge cap. |
||
 |
||
The roof or ridge cap is a piece of the 6" board 4 1'2" long. This can be nailed onto the back and front. |
||
 |
||
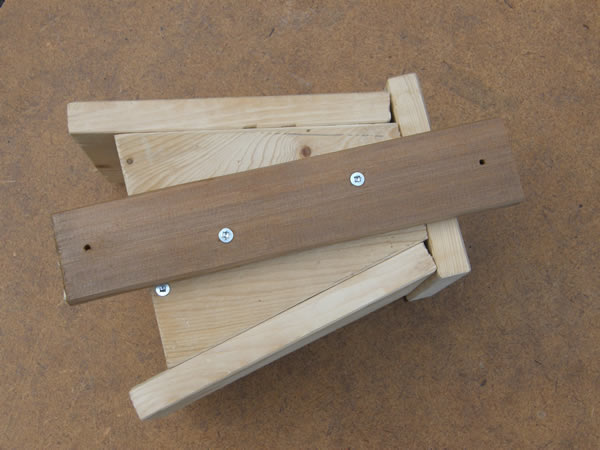
A lath or batten 2" wide and 4" or 5" longer than the height of the box can be screwed onto the back for hanging it up. A hole for a screw near the top and the bottom can be used to fasten it to a post or a tree. |
||
 |
||
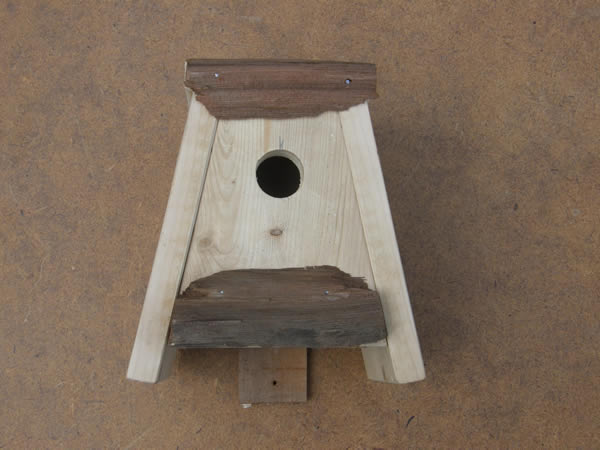
Some pieces of bark or other little bits of wood can be used to finish the box off. Something on the front of the ridge cap will cover those open areas. A piece on the front will also help the birds that come to use it. This however will have to be removed for cleaning out the box. |